

It is time to address something that has been bothering me: humans of Facebook that do not know how to set their profile image correctly. I know, this is a small, seemingly meaningless thing. But when you’re a professional photographer and a client puts up a cut off wedding image as their photo, it hurts my heart. Don’t get me wrong, I am FLATTERED that you wish to use my image. Most of my business is run off of social media, but when the image is only half displayed, that does not showcase the work properly! Below, I am going to show you how to best set your profile image!
Step 1: Select your profile image
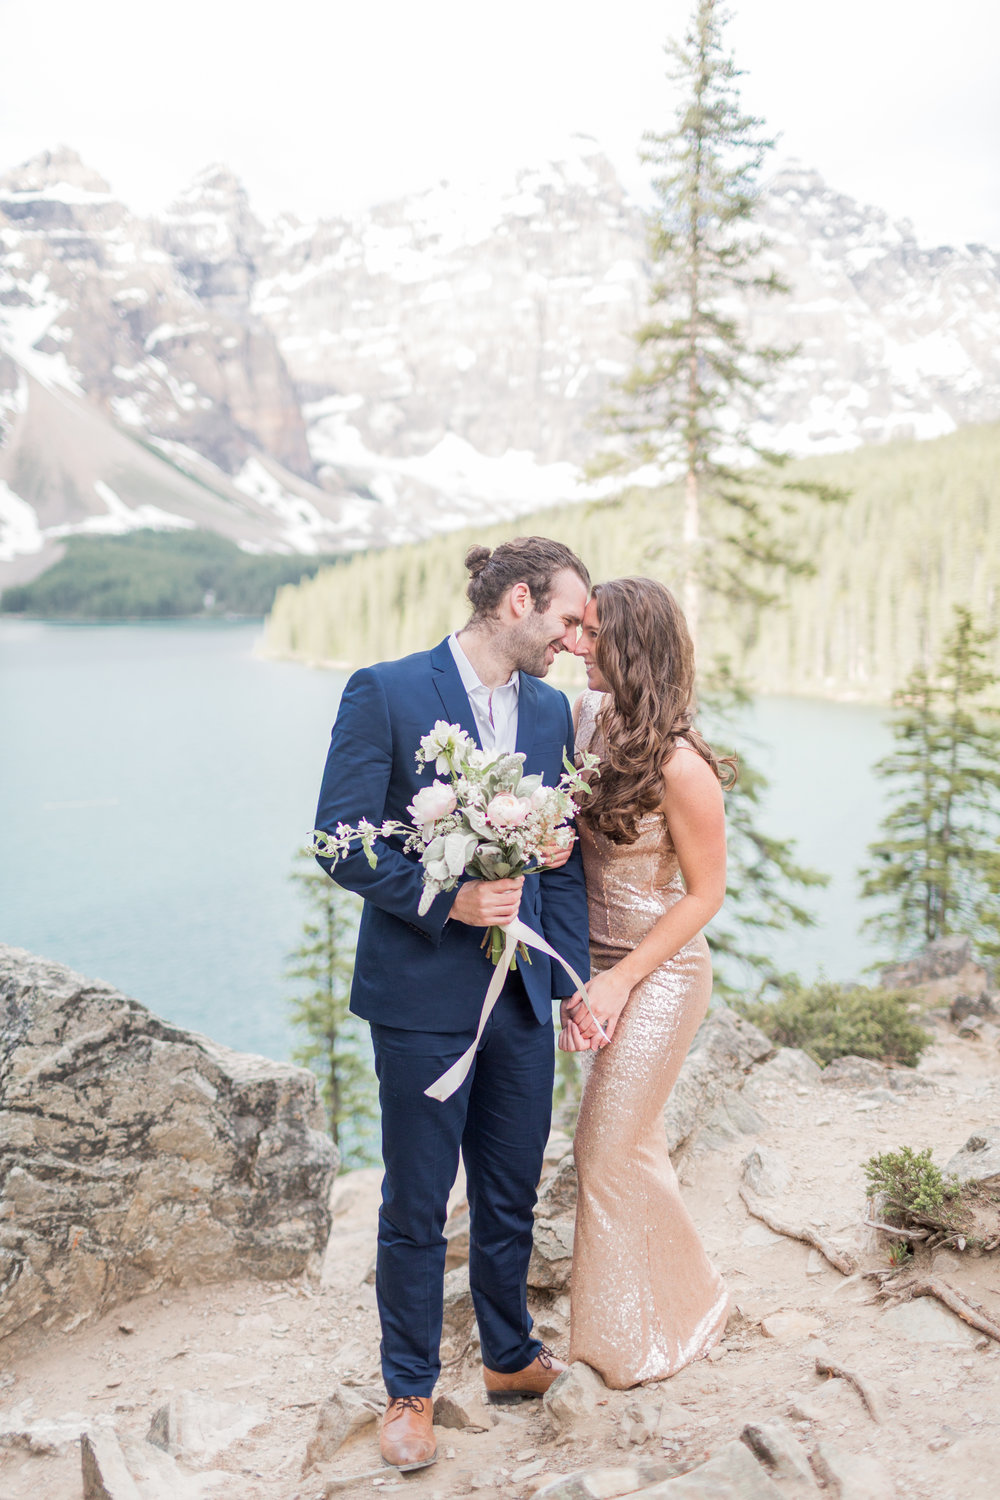
Honestly, I am a fan of portrait vertical images. If you’re overly concerned with getting more likes on your profile image, you can consider what day of the week or time you are posting. People are not on Facebook as much on the weekends and people tend to check it on their way to and from work or at lunch!
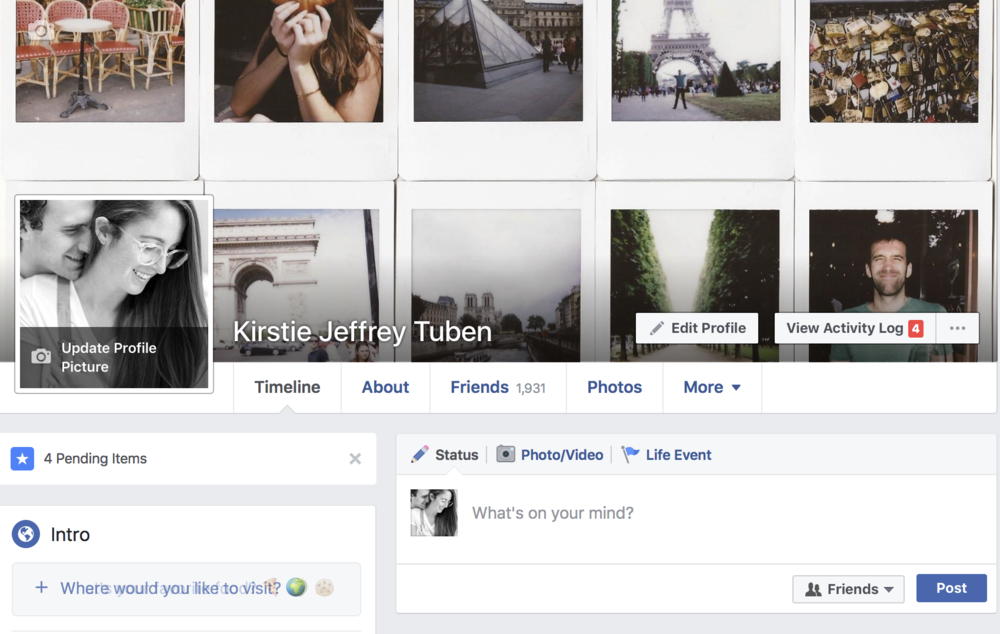
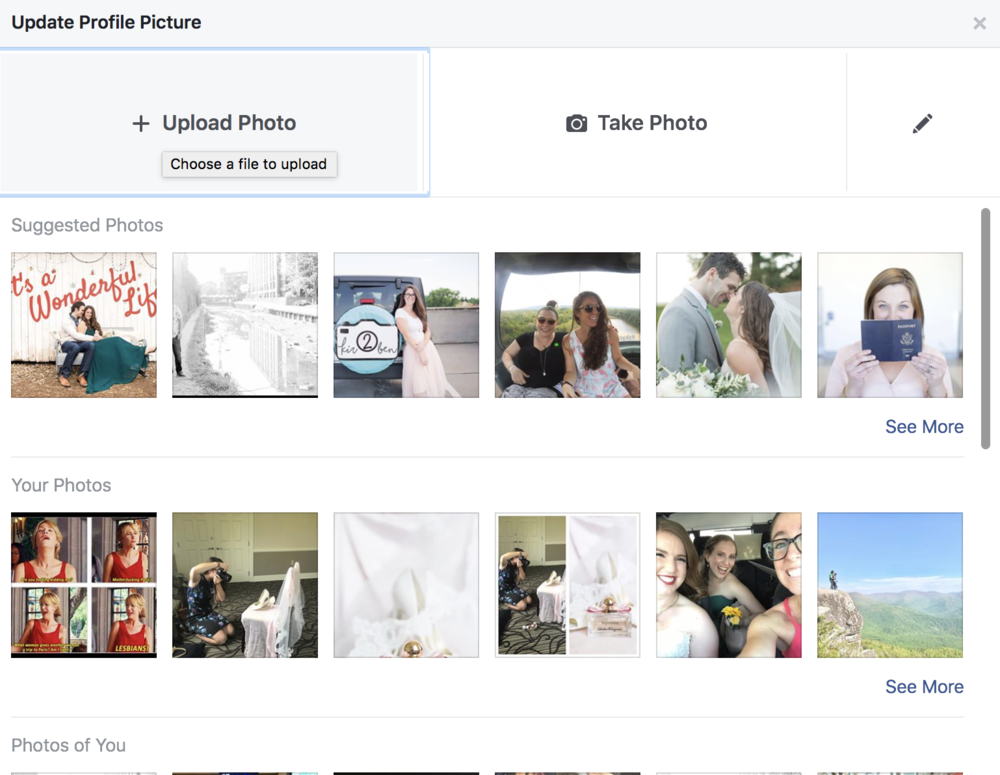
Step 2: Click the “Update Profile Picture” on the profile picture icon.
Step 3: Click “Upload Photo”
Please for the love of God do not “take Photo” using your crappy Mac camera.
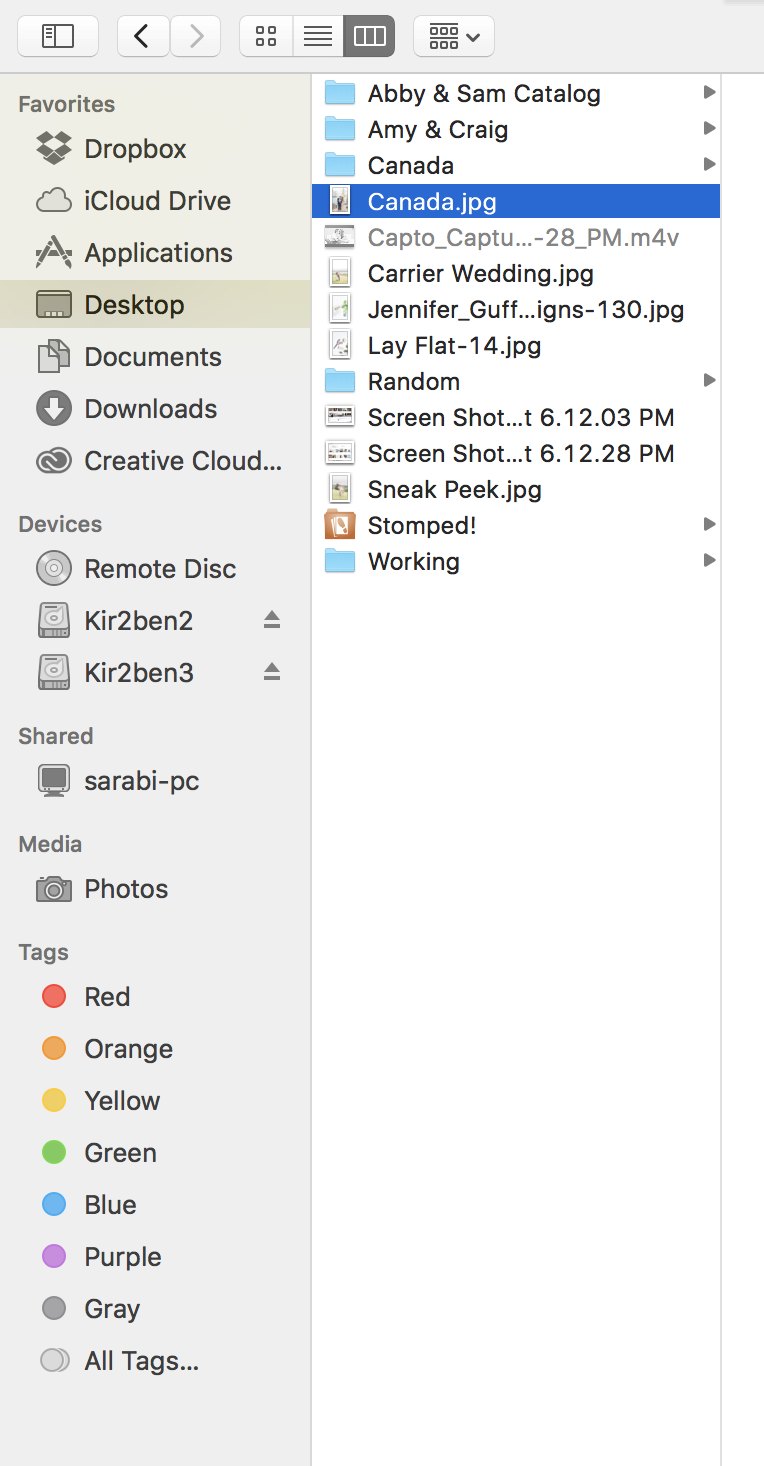
Step 4: Select the image.
I usually keep mine on my desktop so it is easy to find.
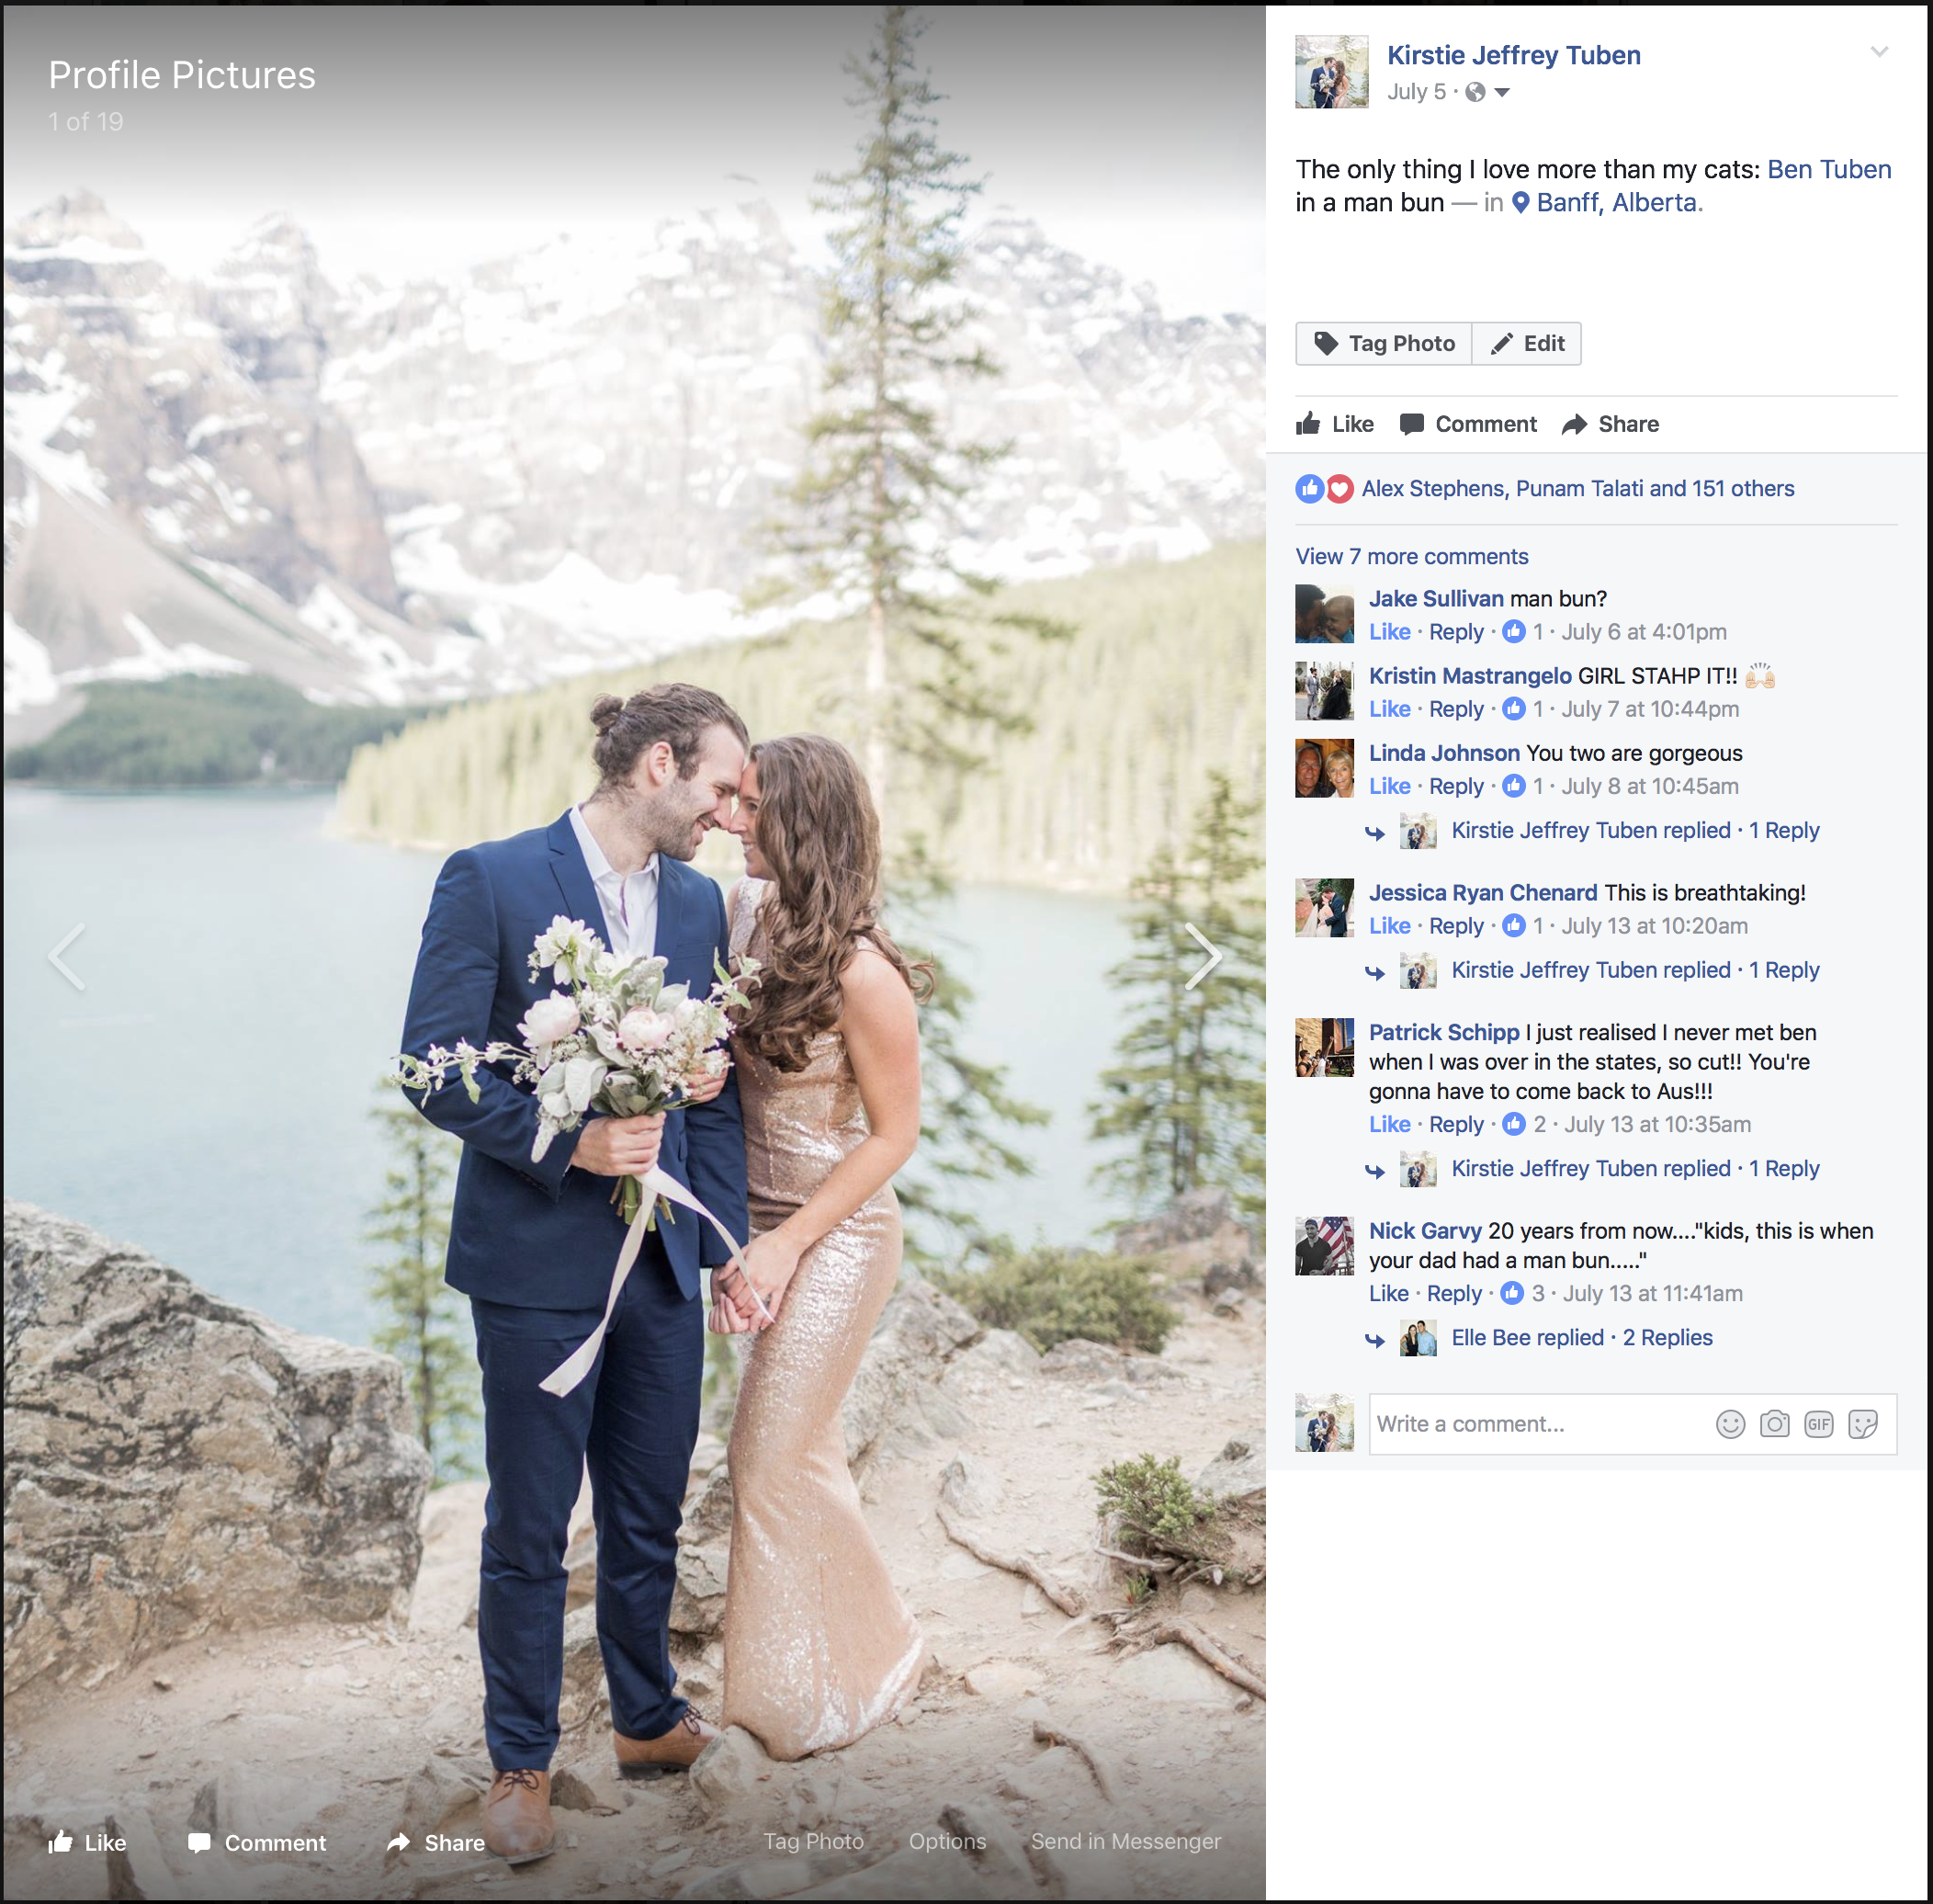
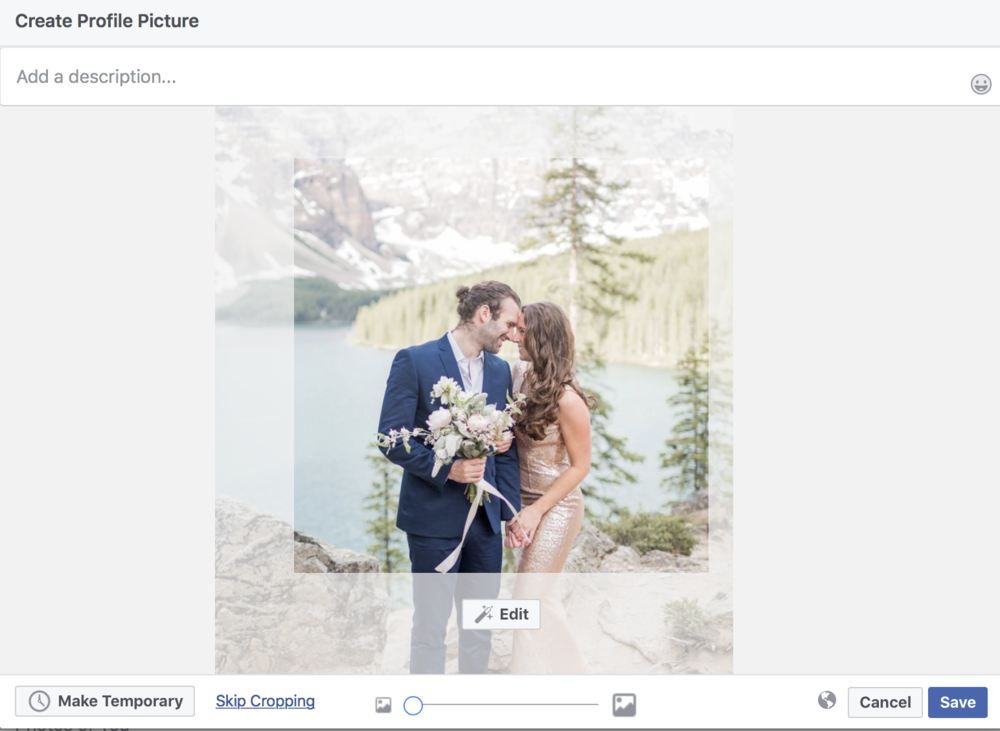
Step 5: THIS IS THE MOST IMPORTANT STEP! “SKIP CROPPING”
This will allow the entire photo to show up as your profile image! You can drag it to the appropriate spot for the window to show the right square of your image now or later.
Step 6: Add a caption and tag!
Tag all appropriate vendors or photographer… especially if it is yours truly!
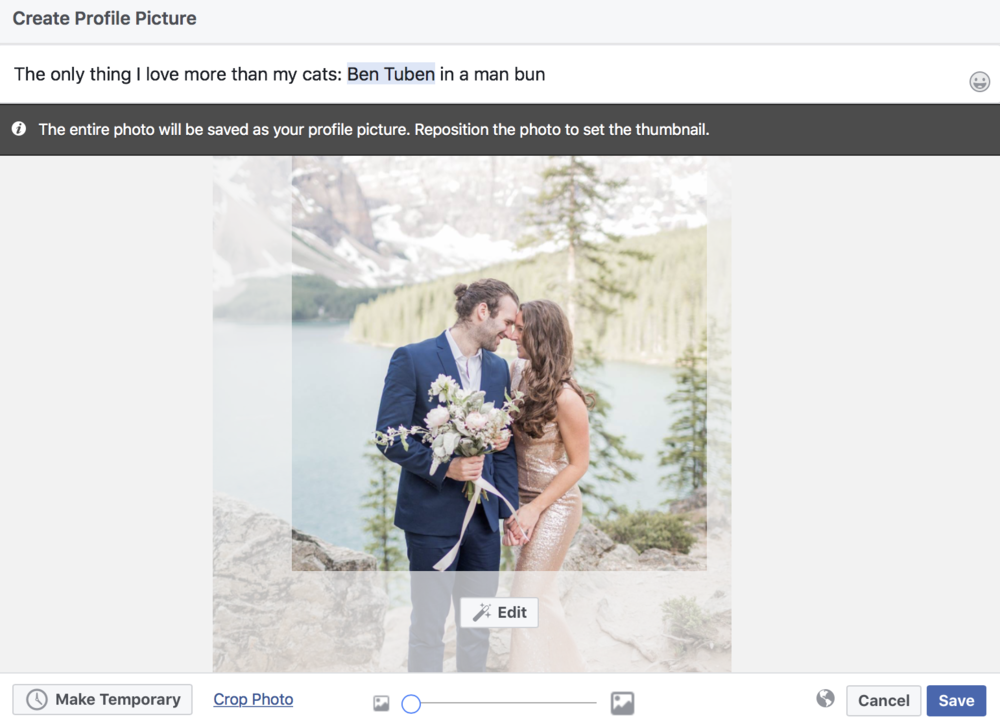
Step 7: Enjoy your full image!
Respond to those who comment and like back!


comments